How to Add Social Media Icons With WordPress
Social media has become an irresistible component of the marketing mix for businesses. Half of the entire global population has a social media account. It is impossible to ignore that social media is where the audience is.
While there is plenty of nuance to social media marketing, it often boils down to numbers. A bigger audience means more eyes on your posts. That gives you a better chance of converting them into customers. There are plenty of ways to grow your following, but let’s ensure your website visitors know you’ve gone social!
Adding Social Media Icons to WordPress Websites
WordPress is justifiably the most popular choice among businesses of all sizes, from ease of use and unlimited potential to beginner-friendliness and digital security. They’re not alone either – over 455 million websites use the content management system. That number includes the likes of Disney, Microsoft, and Bloomberg.
Not only do they harness the power of WordPress for parts of their businesses, but they’re also prolific on social media. Of course, they incorporate the social side into their content, but you don’t need to run a billion-dollar organization to do the same.
Add Social Icons Directly in WordPress
WordPress doesn’t include social icons straight out of the box. However, they’re easy enough to add to your site with a simple plugin or two, and they’re best deployed using WordPress’s built-in menus.
Step 1: Install and Activate the Menu Image Plugin
Menus work best for social icons because of their drag and drop functionality. Your highest priority social network today might not be as crucial in the future, and this technique provides greater flexibility than many alternatives.
-
Save
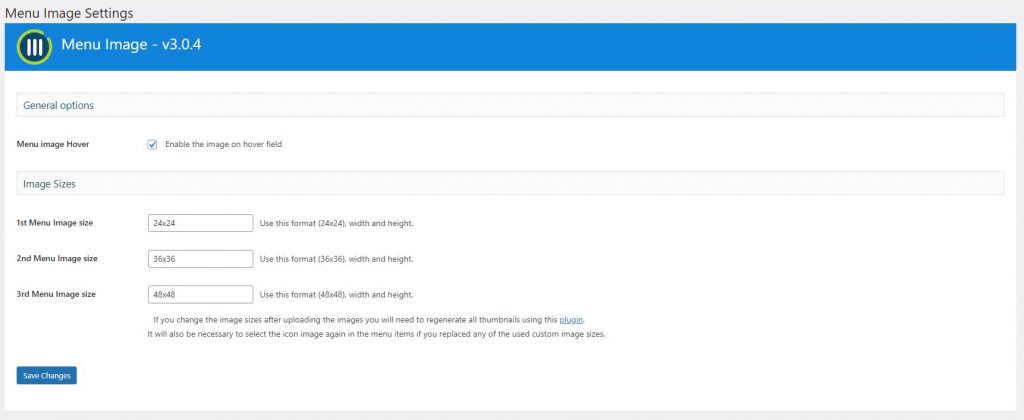
The Menu Image plugin for WordPress does exactly what it says on the tin and enables users to add images to menu listings. In addition, there’s complete control over images and icons, and you can resize them however you see fit.
Step 2: Create a New Menu
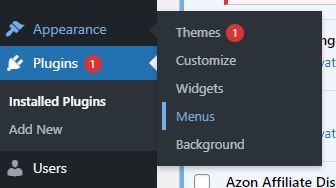
With the plugin loaded up and ready to go, it’s time to make your WordPress menu with social links. First, head to ‘Appearance’ in the sidebar, then to ‘Menus’, then click the link to create a new menu.
-
Save
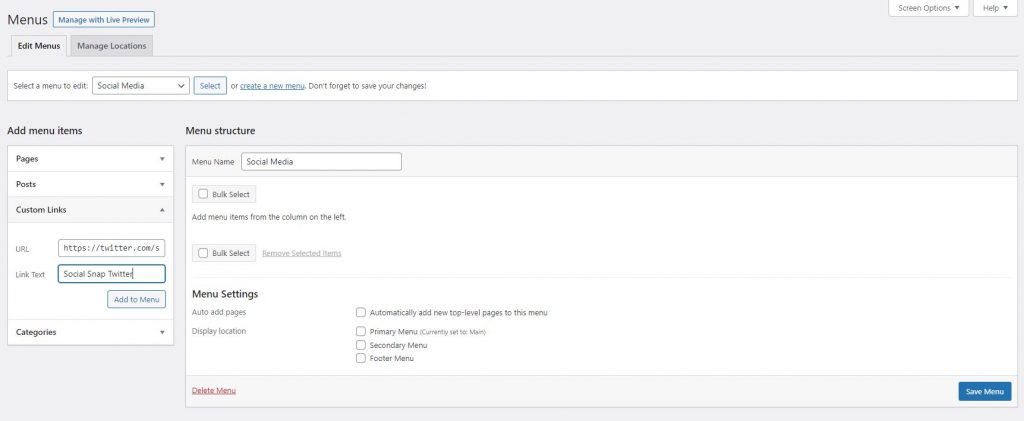
You’ll want to use custom links for your social accounts here – for example.
Choose a name you recognize for each menu item, as while it won’t be displayed – that’s what the image is for – it makes it easier to see which item is which at a glance.
-
Save
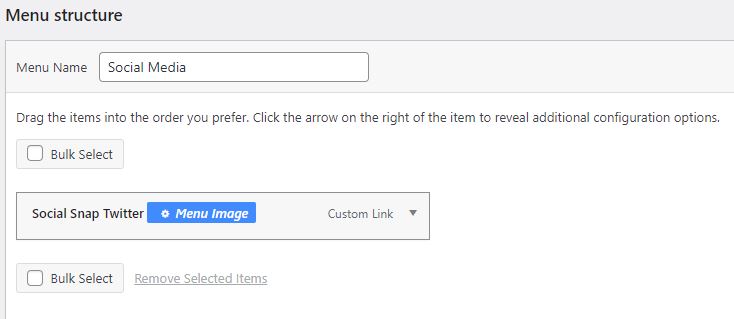
When you’re happy with your menu elements, hit ‘Save Menu’. You’ll see it as an asset within your WordPress dashboard and, when you hover over it, will see the Menu Image option.
-
Save
Step 3: Configure Your Menu Images
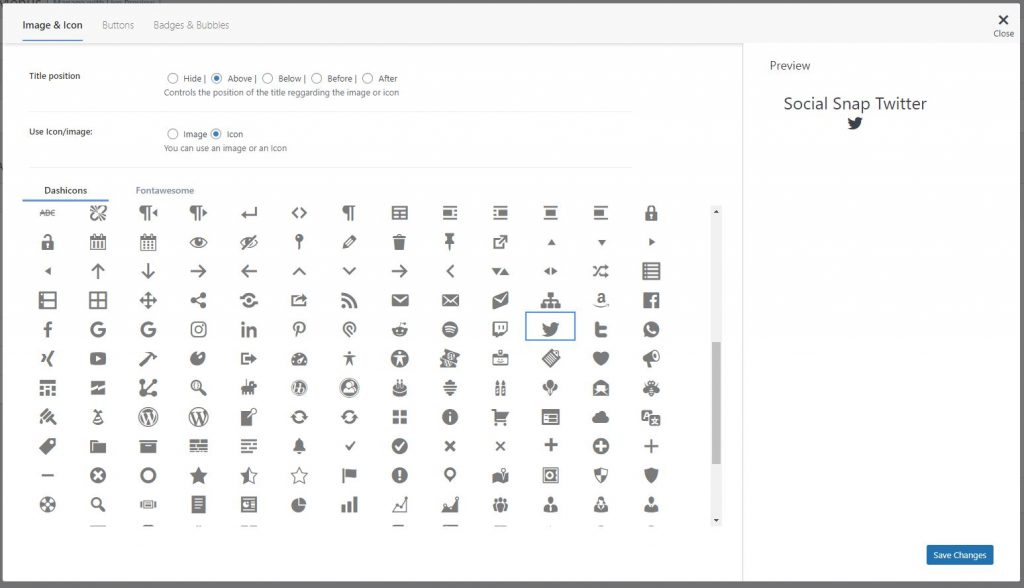
Hit the Menu Image button, and you’ll unleash the power of the plugin installed previously. A popup will appear with various options, including titles, sizes, and a choice between images and icons.
-
Save
This decision is an important one. The plugin doesn’t come with images for every social network, but it does have an icon for each. It depends on how much control you want over the finished product. If you have a flair for the creative, you can create custom images for each social link. Alternatively, icons will do the job if you want to get up and running quickly and don’t mind keeping the default designs.
Repeat the process for every social link, and your menu is good to go.
Step 4: Place Your Menu on Your Site
You can use this technique to add social icons to existing menus on your WordPress site. However, don’t feel like menus only refer to the bars along the top of the page and down the side.
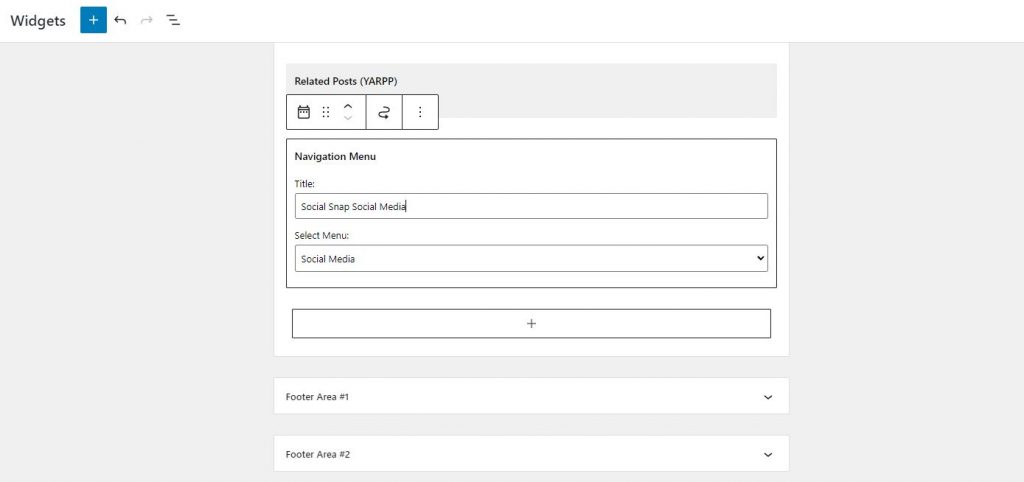
Navigation menus can appear anywhere in WordPress, thanks to widgets. Head to the ‘Appearance’ tab in the sidebar once again, and this time to ‘Widgets’. Look for the ‘Navigation Menu’ widget, then drag it to the sidebar or anywhere else you’d like your social icons to display.
-
Save
Select the menu you created in the previous steps and hit the ‘Save’ button.
The menu you’ve created, complete with images and social links, will now appear automatically throughout your website wherever you’ve configured them to. So the job’s done, and your social links are live and awaiting your visitors all across the site.
Social Snap – The Easiest Way to Add Social Icons to WordPress – And So Much More
Following the steps above, you can be up and running with a custom social link layout within just a couple of hours. In completing them, you’ll have images and links showcasing all your essential social profiles and not a lot else.
What if we told you that you could achieve those results, and much more besides, with just a couple of clicks, only a few minutes of your time, and no technical expertise required?
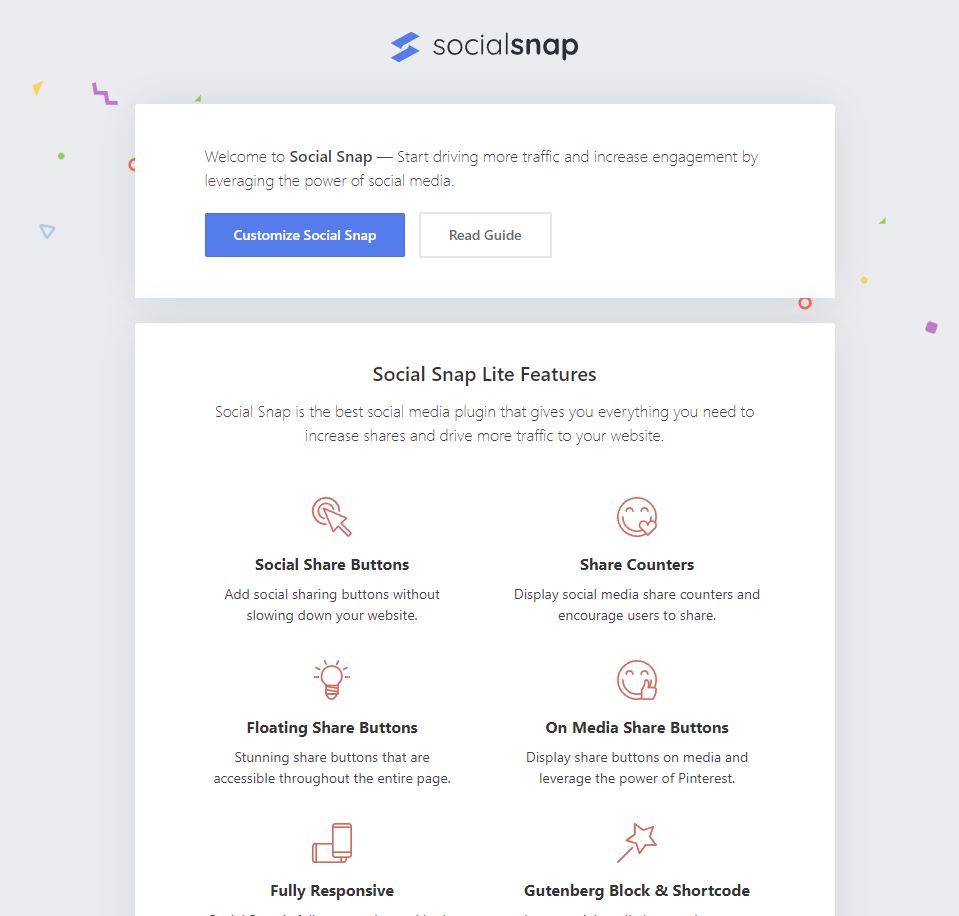
It’s all made possible by the Social Snap Social Media Plugin. The Lite version is completely free to use and available from the official WordPress plugin directory. That means it can be installed directly from within your WordPress dashboard by heading to ‘Plugins’ in the sidebar, hitting ‘Add New’, and then searching for it by name.
-
Save
Get more from Social Media with Social Snap
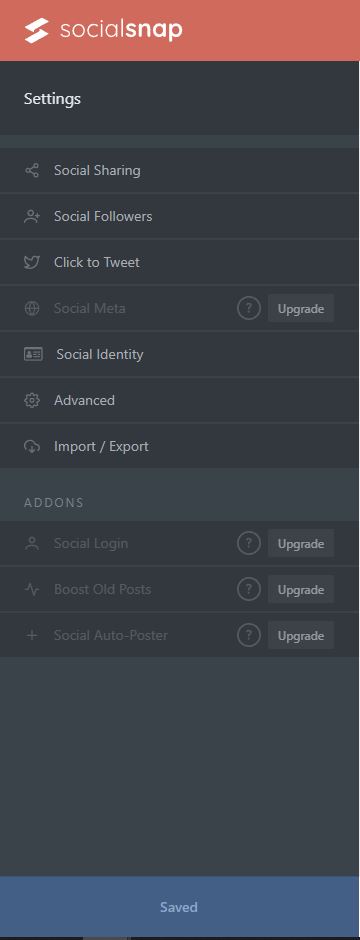
Following installation and activation, you’ll find a new Social Snap option in your WordPress menu, where you can explore powerful features and configure your social profiles.
The plugin immediately outshines the conventional method outlined above, as it enables users to do much more than share your content and visit your social profiles. You and your visitors can, among other features:
- Quickly copy a direct link to the current page to send, share and publish
- Print page content
- Display share counts on a per-platform basis
- Choose different buttons and icons for display on mobiles and desktops
Crucially, Social Snap is all about flexibility. The menu-based approach triumphs over many social media plugins for positional freedom, but not this one. Site owners can decide on the order in which their icons are displayed, change image sizes and control the pages on which social icons appear. Beyond that, you can decide exactly how and where you want your social links to appear – with no menus required!
-
Save
Add social buttons before and after content, or both at once. Add a floating sidebar, independent of your other content, to ensure your social links are always in view. You can even add these buttons in custom locations with shortcodes and add media sharing buttons directly on your images.
Getting the Most from Social Media with Social Snap Pro
The Lite version of Social Snap is the easiest way to add social icons to any WordPress website. Users can be ready to go in just a few minutes. However, if you’re serious about social media, allow us to introduce the next level of social WordPress capabilities; Social Snap Pro.
As the most fully-featured WordPress social plugin, it can take your brand image, awareness, and clout to brand new heights, thanks to:
- Support for every social media site imaginable
- Complete control over how content appears when shared
- Statistics and engagement tracking
- Automatic posting of fresh content to social channels
- Social media logins
And that is just scratching the surface! Find out more about what Social Snap Pro brings to your social media strategy on the pricing page.
Wrapping Up
Great content is created to be consumed. More eyes on your content, videos, and images means more potential customers, and there’s no better way to build awareness and potentially even go viral than by embracing the power of social media.
Adding social buttons to your WordPress website is a no-brainer as it makes life easy for anyone that loves what they see and wants to share it with others. Fortunately, adding these buttons isn’t tricky, and there are numerous ways to approach it.
However, for sheer ease of use and flexibility, it doesn’t get any better than Social Snap, so download today and harness the power of social media for your website!
-
Save
Written by Branko
Branko is the Co-Founder of Social Snap and HB-Themes. He focuses on pixel perfect design and frontend development.
Social Snap is amazing social media sharing plugin for wordpress. I am using it for my blog and it’s easy to install and use.